Profiler (UI)
The Profiler application allows you to maintain a profile for each system you want to monitor with Scansor sensors. Every profile holds some parameters like hostname and credentials which are needed to connect to the different systems. You can also define sensor-specific parameters to configure the sensor behaviour for each of your systems.
Start profiler
You can open the Profiler by clicking the Profiler icon (shortcut) on the desktop of the computer where Scansor has been installed on. You can also open the Windows Explorer and go to C:\Program Files (x86)\PRTG Network Monitor\Custom Sensors\EXEXML (The drive letter can be different when you installed Scansor somewhere else) and double click on Profiler.exe.
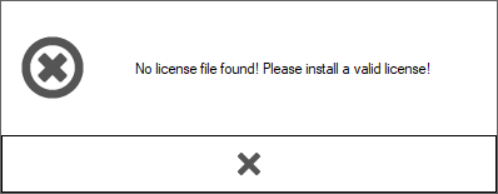
When you start the profiler for the first time, you will face a message that no valid license is installed:
Maintain profiles
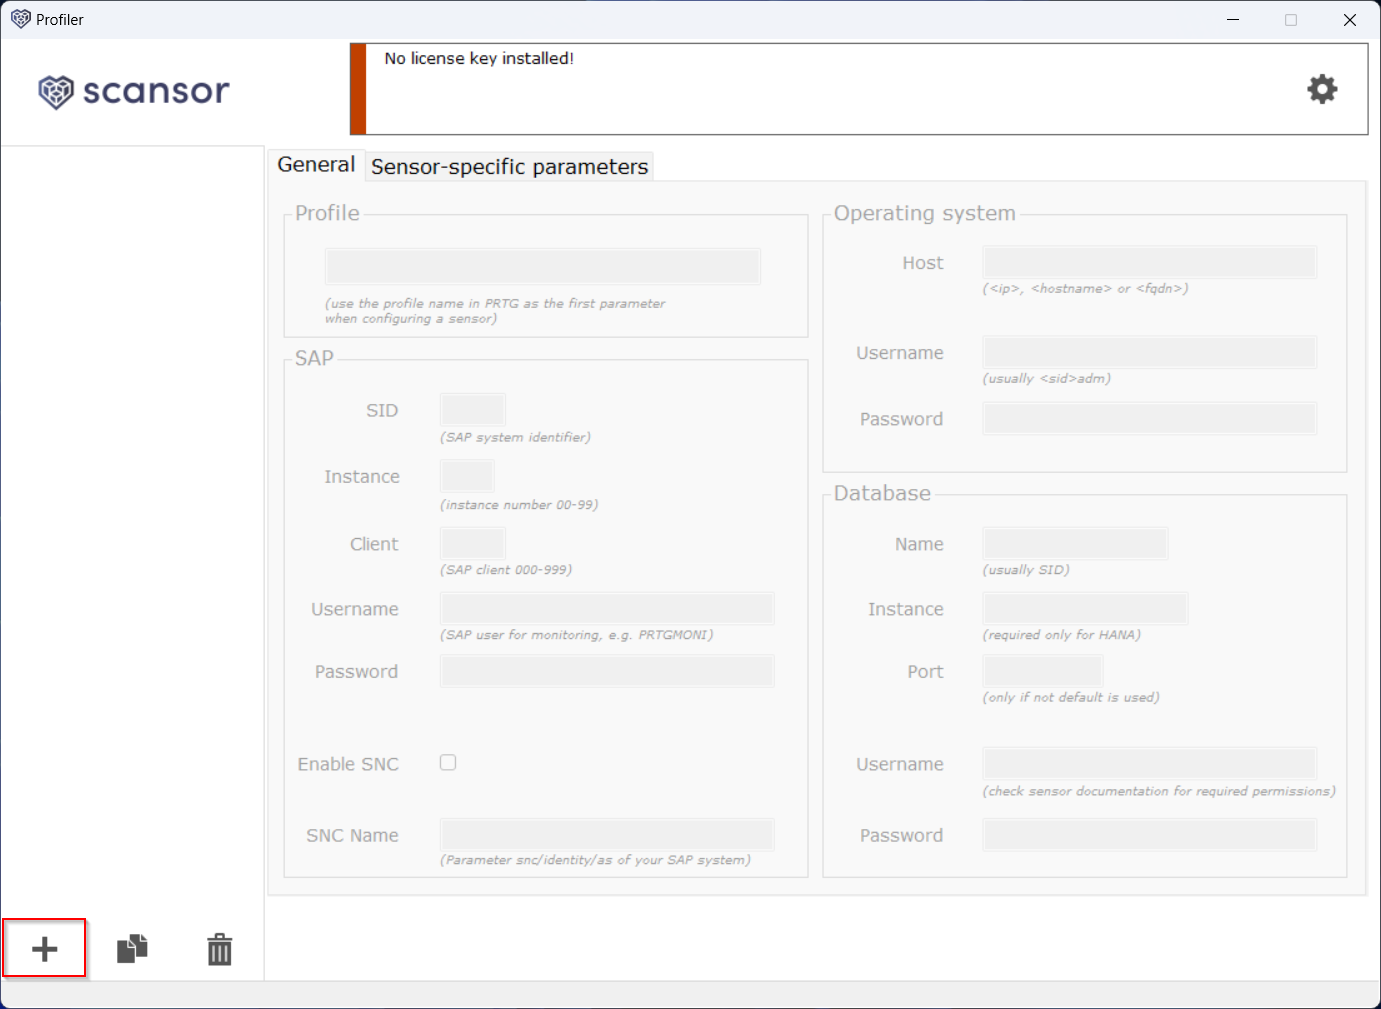
Add
To add a new profile, click the + button:
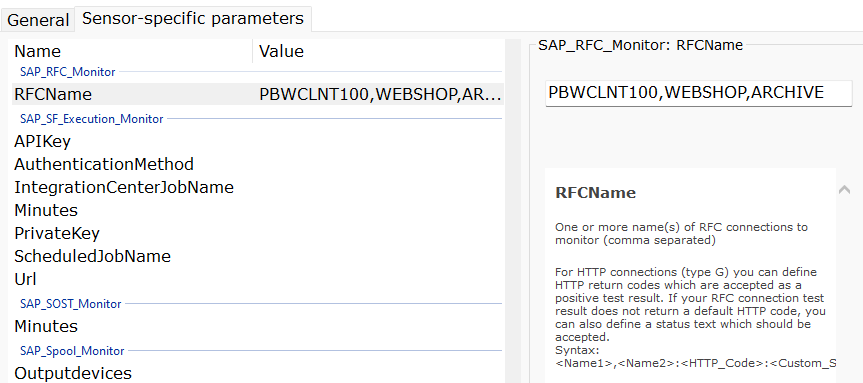
Otherwise you’ll find the required general and sensor specific parameters in each sensor documentation.
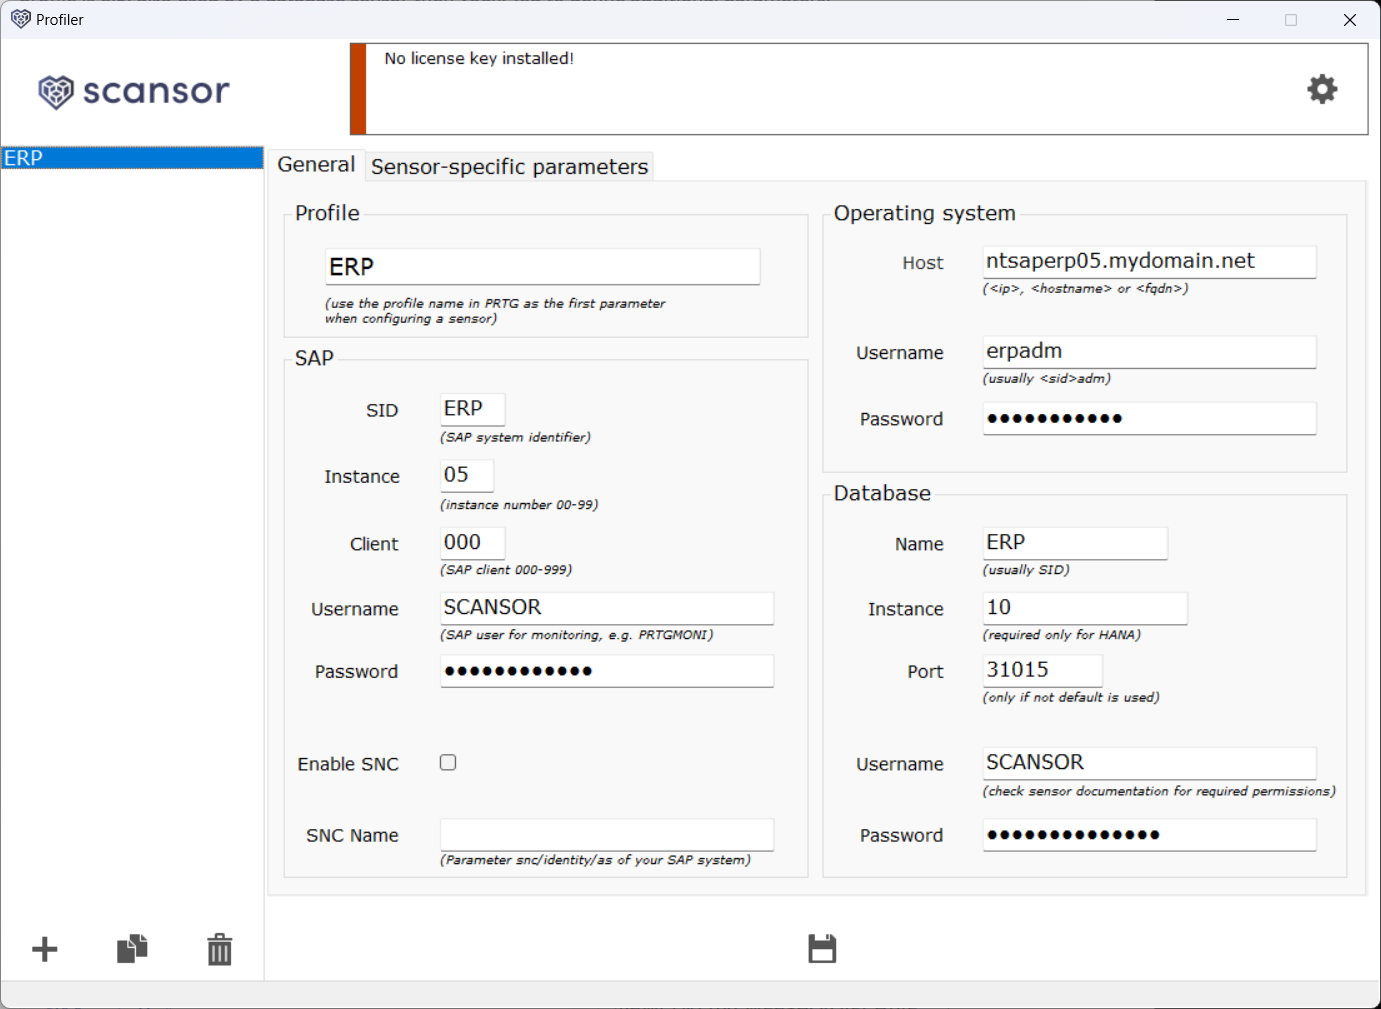
As an example we use the SAP RFC Monitor.
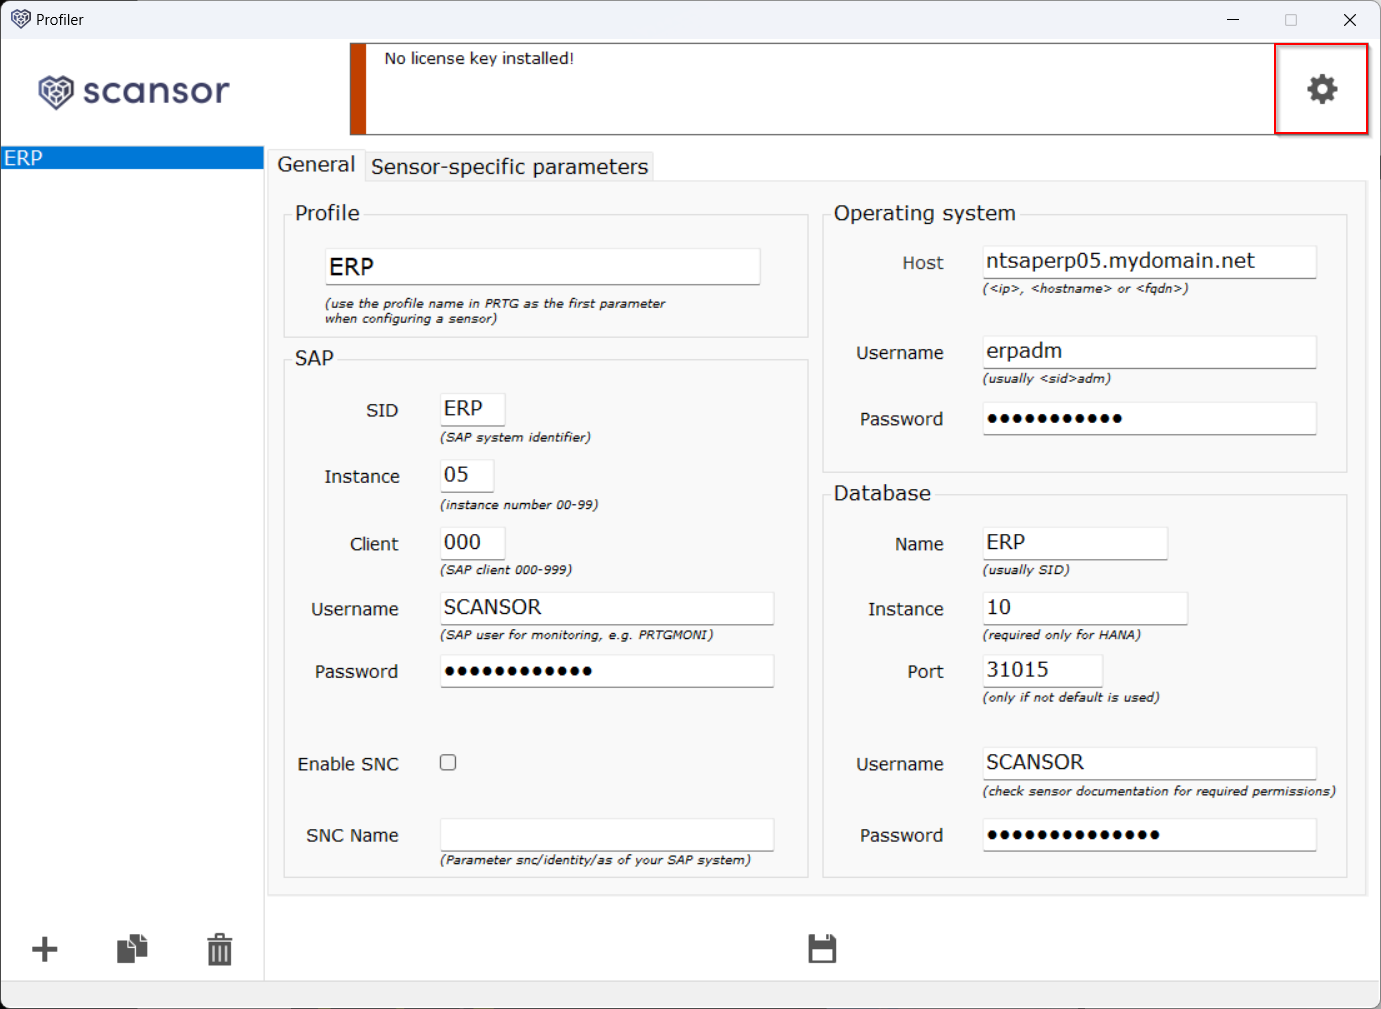
So, in the general section of the profiler you need to define at least the required values for Host, SAPSID, SAPClient, SAPUsername and SAPPassword in order to you this sensor with the configured profile. In case the profile is also used by a database sensor then you need to define additional parameters like DBName, DBInstance, DBPort, DBUsername and DBPassword for the depending sensor.
Clone
To clone a profile, select the profile you want to clone and click the clone button:

Delete
To delete a profile, select the profile you want to delete and click the delete button:

Take care, there’s no possibility to restore a profile after it has been deleted! To take a manual backup of your profiles, just copy the file profiles.db to a safe place and restore it if necessary.
Settings
To open the settings dialog, click on the cogwheel button in the upper right corner:
License
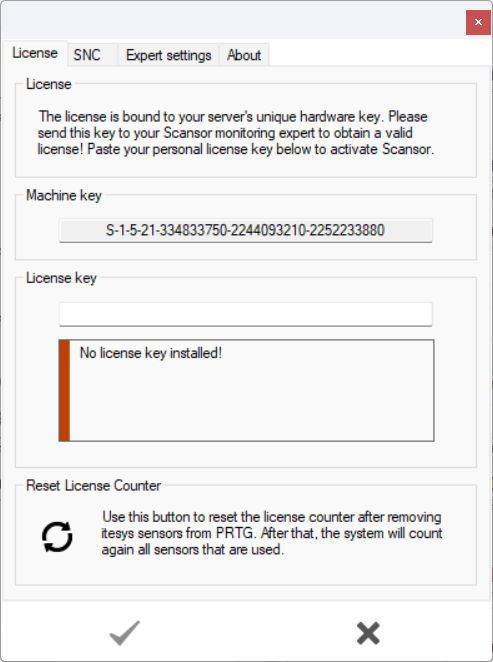
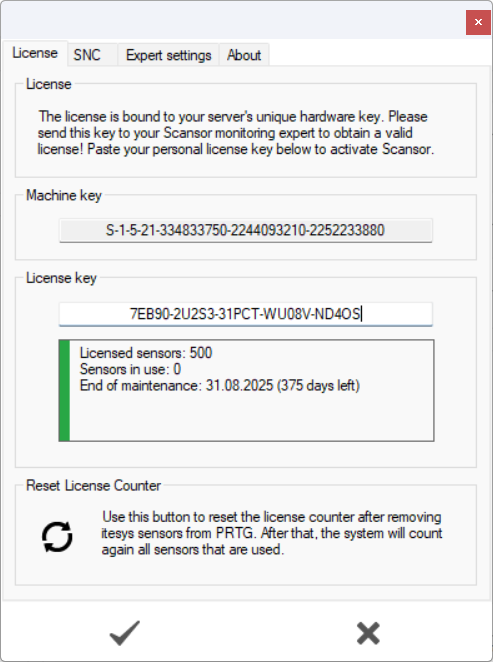
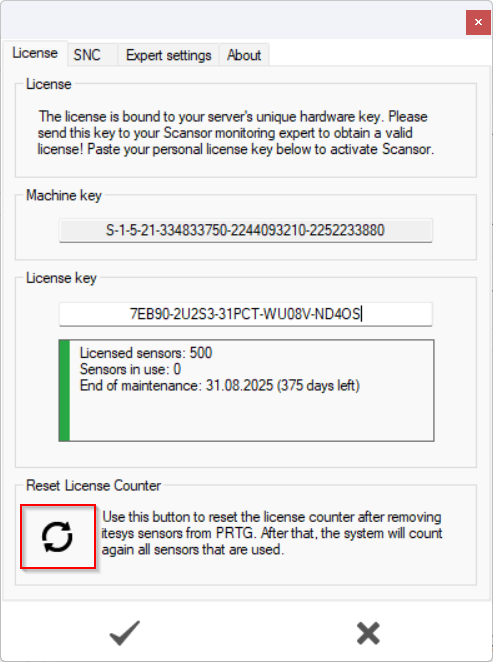
Reset license counter
Scansor is not able to recognize when you remove sensors in PRTG. Therefore the license counter doesn't decrease after you deleted some sensors. Just hit the button in the section "Reset License Counter" to set the counter to zero. After that, all used sensors will be counted again after their next execution.
SNC settings
In the SNC settings you can specify the path to the sapcrypto library and provide the own SNC name which should be used to establish secure connections via RFC. Please follow the steps under Using SNC to prepare Scansor to use SNC.
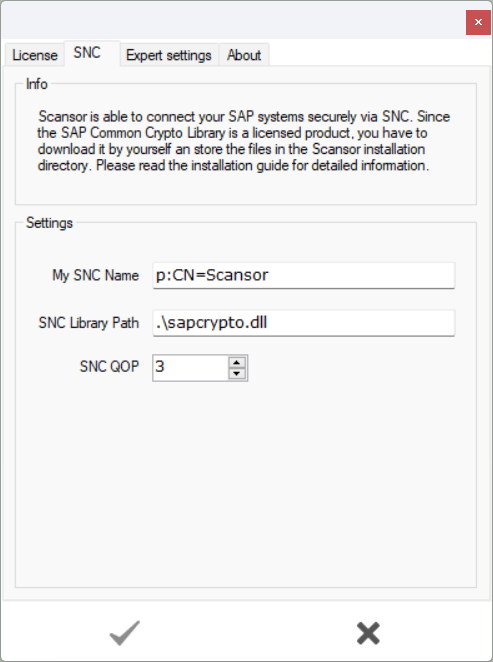
| Value | Description |
|---|---|
| 1 | Only encrypt authentication |
| 2 | Protect integrity (Authentication) |
| 3 | Protection of confidentiality (Integrity and authentication) |
| 8 | Use proposed setting from the server |
| 9 | Use maximum protection |
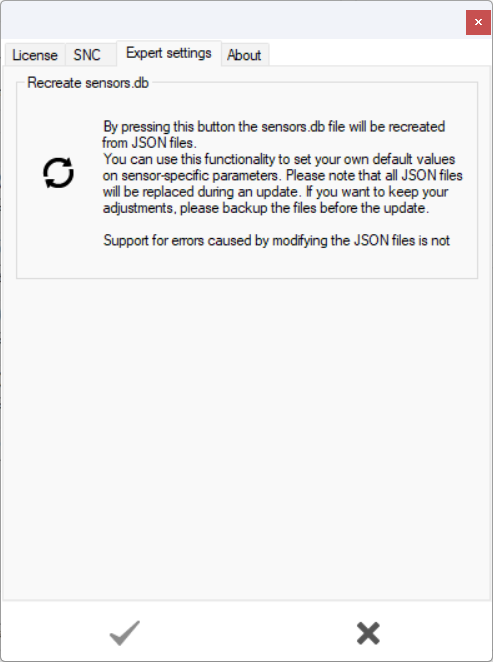
Expert settings
Only use the expert settings if someone of our support is guiding you:
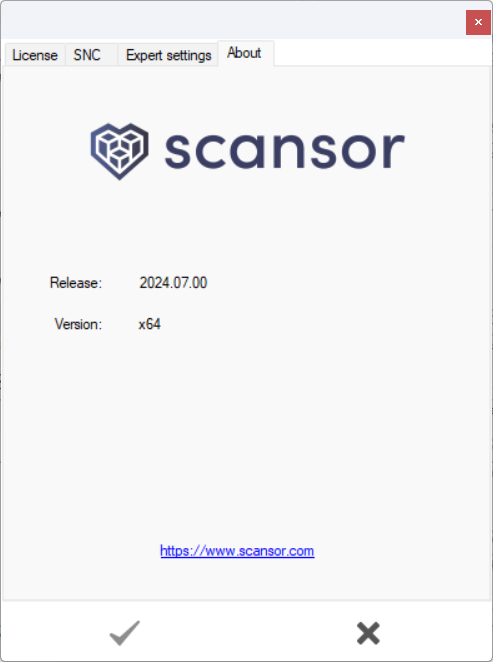
About
Use the "About" tab to get information about your installed version: