Update
Follow these steps to update to the latest version of Scansor.
- Download the latest installer from scansor.com
- Backup the folder
C:\Program Files (x86)\PRTG Network Monitor\Custom Sensors\EXEXML. (If the update fails, you can restore the folder and run Scansor as before the update.) - Stop the PRTG Probe Service or pause all Scansor sensors
- Check the Task Manager to ensure that no sensor executable is still running
- Exit Profiler UI (for all users)
- (optional) Uninstall current Scansor version using Control Panel -> Programs -> Programs and Features
- Delete the file
sensors.dbfrom the installation folderC:\Program Files (x86)\PRTG Network Monitor\Custom Sensors\EXEXML - Run the installer and follow the steps until it has finished
- IMPORTANT Start Profiler UI
- Reload lookup files in PRTG
Setup->System Administration->Administrative Toolsand click theGo!button in the LoadLookups and File Liststile: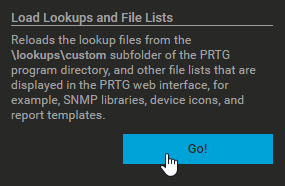
- Start the PRTG Probe Service or resume all Scansor sensors
- Check the Release Notes if there are some sensor-specific actions to do.
warning
In case you’ve installed PRTG on a different drive than the Scansor software please copy ALL Files from C:\Program Files (x86)\PRTG Network Monitor\Custom Sensors\EXEXML to the correct installation path <custom path>\PRTG Network Monitor\Custom Sensors\EXEXML.
Please do the same with the .ovl files and copy them from the folder C:\Program Files (x86)\PRTG Network Monitor\lookups\custom to your PRTG Core server <custom path>\PRTG Network Monitor\lookups\custom.